Lazarus
Projects
Structure
and Syntax
App Types | Unit Structure
| Adding a NEW Form
Visual programming is really different from conventional
algorithmic programming. Visual projects are usually designed from the
interface down. You create your forms, place your components and then
program those components to interact in some controlled way. Visual applications
are different to procedural systems in that they are (usually) event-driven
- that is they sit there waiting for the user to do something. The nature
of a visual system makes the choice of things that can be done diverse
and can make a programmers life busy ensuring all things are well behaved
from the start.
Testing visual systems is complex, as the combination of
events has to be planned for - assuming the user will never press this
button whilst this is happening is foolish and the stuff of poorly written
systems. Windows purists argue that a well written system can be driven
entirely (or for the most part) from the keyboard as well. Planning keyboard
shortcuts for features is an artform and requires you to be organised.
Application Types
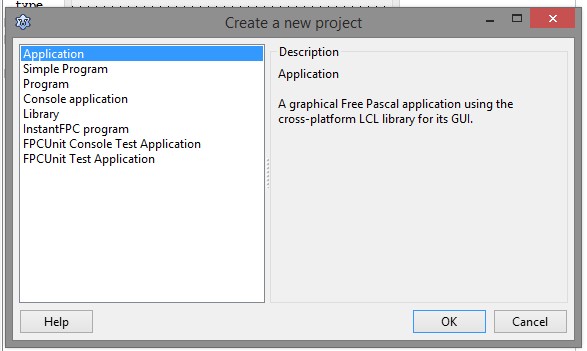
In Lazarus, a simple project is collection of parts that are bound together
at compile time into a windows EXE file. In this section we examine
the nature of a Lazarus project and some variations in it's form.

Windows applications by definition all use forms (or windows) to display
information and action graphically. They come in many shapes, colours
and sizes, have varying border styles and controls but can be classified
into two broad categories: Single Document Interfaces and Multi-Document
Interfaces.

Some programs (like wordprocessors for example) allow you
to open and work on many (more than one) document at once - and manages
them by nesting the windows for those applications inside some form of
document manager screen. Each document opened in an MDI App usually follows
the same template.
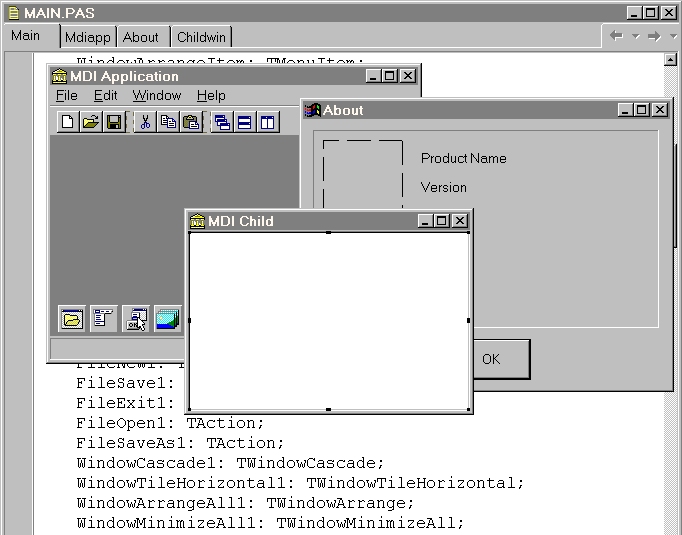
A Lazarus MDI application is created with a number of parts
of the multiple document interface system pre-built File, Edit,
cut, paste, the Help->about box, some of the menu system...),
and a single child form (the default document window) pre-declared for
you:

Run the project above to see vanilla MDI app.
Although this sort of application is common enough, this course will concentrate
on Single Document Interface (SDI) type apps. You are, naturally, enncouraged
to explore.
Unit Structure
 In
a typical unit, the form class definition contains references to
all form-centric procedure/functions as forward calls. This allows these
procedures to be used in any order and is necessary as it is nearly impossible
to guess what the users will want to do. In
a typical unit, the form class definition contains references to
all form-centric procedure/functions as forward calls. This allows these
procedures to be used in any order and is necessary as it is nearly impossible
to guess what the users will want to do.
Any procedure that needs to interact with a form component in any way
must be introduced in the class definition at the top of the unit
and then defined in the implementation section.
For a procedure or function to interact with form-owned components, it
needs to be within the scope of them, and therefore is introduced
this way.
Many standard event handlers have as a parameter in their definition
a Sender object - this is the component that triggers the
handler. By clever typecasting you can use properties of the sender to
change the way the event-handler behaves:
if (sender is TImage)
then (sender as TImage).top := random(clientwidth)+1;
Adding a New Form to a Project
Visual projects often have more than one window (or form). Adding a form
to a project is straight forward but required a number of actions to ensure
it can be seen and used by your program.
Projects have a MAIN (or parent) form and may have many CHILD forms.
The project remains running whilst the PARENT form is running. PARENT
and CHILD forms can be visible or hidden, but the project is still running
(ie. in memory) until the PARENT is closed down.
When designing MULTI-FORM projects, think very carefully about what you
want your PARENT form to be - naming is very important as you have already
gathered.
 To add
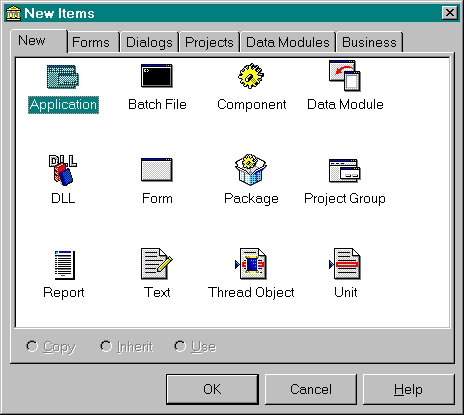
a CHILD form to a project, File -> NewForm (or File, New, Form, then
make your selection of the type of form you require from the gallery). To add
a CHILD form to a project, File -> NewForm (or File, New, Form, then
make your selection of the type of form you require from the gallery).
The New Form will have a form and corresponding UNIT file. Make sure
you save the UNIT file and rename the form file to something meaningful
before moving on.
For the PARENT to be able to access the CHILD (and visa-versa) it has
to be able to see it (that is, it has to be within it's scope).
One way to achieve this is to include a USES reference to the child's
UNIT in the Implementation section of the parent (as shown).
For a form to make another form visible, Formname.show is used.
Similarly, to make a form invisible, Formname.hide is used. To
shut down a form we use Formname.close.
In the above example, we could legally shut down the application by issuing
TheForm.close from some event handler in the AnotherForm
ONLY IF in the ASecondUnit implementation there was a uses
clause mentioning AUnit.
This all seems a little confusing but can be simplified such that a form
can call on another form only if it's unit uses the other
unit.
A useful feature in the form properties is the .position which
allows you to control where the form will appear when visible. You have
options including centre of the screen, podesigned (ie. wherever you dragged
it prior to compile) etc. Additionally, you can control the .top,
.left .width and .height of your form at both design-time
and run-time.
|


