Tutorial Zone complete?
…so I got to thinking about the overall “sense” of the tutorial zone – never a good thing when I have lots of other things to do, but the new procrastination plugin kicked in and I ignored my streaming head cold symptoms and began tweaking…
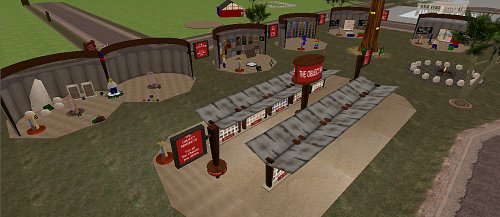
It seemed to me that the tutorial “shells” were facing the wrong way (they faced the road and had their backs on the internal lawn area) – by rotating them 180 (and re-arranging the foliage) it feels a lot more inclusive, like the tutes and the object market relate to each other – they are ALL about the art of building so that was settled (at least in my own fevered brain).
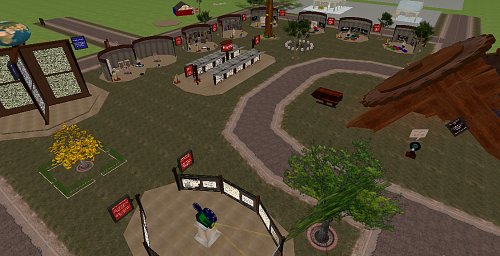
I added a campfire talk circle, with a “cone of silence” around it so private group discussions can go on there, re-jigged the guided tour a little so it made sense and I think I am pretty well done here.
Looking at it from above, it looks like there is very little here, but I know how long it has taken me to make, and feel pretty proud of it.
In the one compact u-shaped area we learn how to make, move, rotate, scale, colour, texture, script and select objects, how to film them afterwards and share our plans for doing so – nice, compact, accessible and … yeah, I know, talking to myself, you get that.
What is missing? Suggestions gratefully received.
Noob today, 1337 tomorrow …
So I have begun making a zone specifically for noobs, builder noobs in particular and it struck me how complicated building with any sort of quality actually is.
I figured I should start with a gimmick, so dived into Wings3d (a favorite mesh editor) and sculpted a HAMMER and a SPANNER – nothing says construction to me like tools. I decided they needed to be on a pedestal, rotating and glowing magically, as they do in real life. I am, initially, doing the whole “Lego” thing because nothing quite matches it as a modular metaphor, plus we are dealing with a primary clientèle so I figure I should try to talk to them where they are.
I decided that the tutorial zone should be non-linear, but if you wanted to follow the skills developmentally in a linear fashion that should be possible also – to that end I warp between stations in the order I think makes sense. WARPING is a neato transition trick that is different to teleporting – it is like a fast run to your destination – this way you still get a sense of space and a feeling like you are travelling – I think it is most effective here in the metaphor of a skills journey also.
So, in this sequence, punters click on the rotating and magically glowing toolbox to progress to the next step if they want to discover things sequentially, or walk/fly on their own. I think this is a reasonable way to do this, but am open to suggestions.
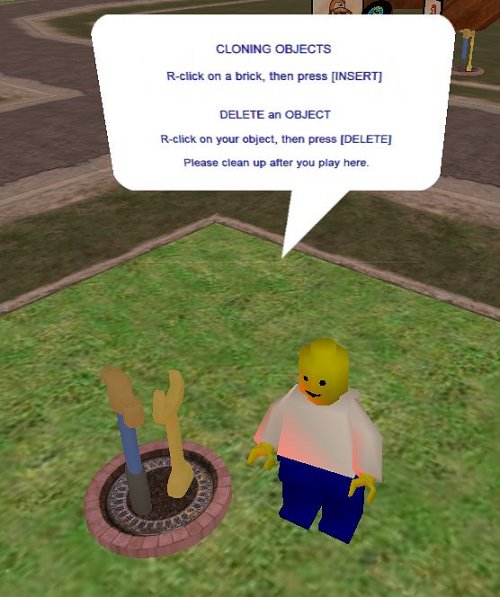
In Activeworlds, you need a source object to make a new object … this solves the age old question because you can take a chicken and make an egg, or visa versa, but first you have to CLONE an object from something already there. R-Click is the gateway to editing (including clone, delete and other stuff).
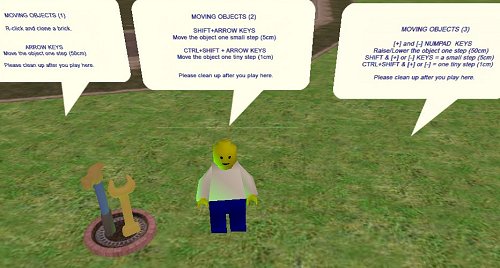
Next I figure you need to know how to move it around. Activeworlds, like Secondlife, lets you steer your object on it’s current plane using arrow keys. Key-presses equate to steps and there are three step sizes (50cm, 5cm and 1cm) achievable using raw arrows, shift+arrows and shift+control+arrow keys. raising and lowering an object is achieved using the number pad +/- buttons (step sizes and modifiers work the same) … there is an interesting rub – you NEED a number pad to be effective in Activeworlds, else you have to resort to reassigning keys that sometimes almost, kind of sort of, nearly work.
Rotating objects gets a little trickier to explain – if the object is in it’s original grid-aligned position, then controlling pitch, rotation and yaw is “relatively” straight forward – using PgUp|PgDn, Home|End and /|* buttons on the NUMBER PAD you rotate the object in x, y or z relative to the directions of the axes for that object. Rotations happen in degrees (15, 1.5 and 0.1 increments using movement modifier keys like moving) so quite precise alignment and swizzling of objects is possible. Pixel perfect is a little more tricksey as, depending on your graphics card’s ability and the client settings, some objects rezz slightly out of alignment, even tho they are not (maybe that is just me being anal, but that erks me – one particular panel in a hallway I tweak every time I walk past it … but I digress).
I am not sure how well my instructions make sense to kids who are still in the concrete operational stage (and are yet to gain the ability to envisage things in 3d), still I guess concise facts are a good thing. I had “Michael12” (a strolling year6 of no fixed address) try them out for me in-world and he said it was cool, so I guess that means it was almost non-gibberish.
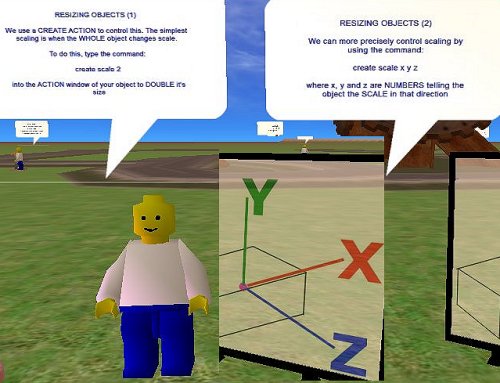
Re-sizing objects, like rotating requires a little 3d spatial awareness and I am not at all sure what I am saying makes any sense, yet. I need to mull over this – I think something diagrammatic might work better.
In all, the beginnings of the sculpture park are promising, I think they need little stages and backdrops, so will make them in keeping with the welcome wall I think as it is a simple yet effective way of creating a private space in an otherwise open world – that and the rust goes well with my sculpture so it is all visually continuous.
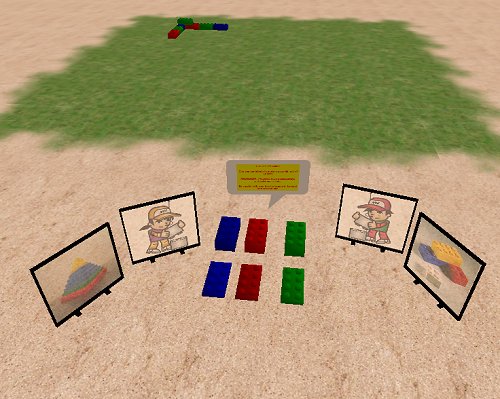
So … to test how well Cybernauts get the whole basic building block thing, I have created a stacking competition – using iLego, we are going to collaboratively build a pyramid. the bricks stack neatly side by side in whole steps, are 60cm high so stacking them on top of an existing row is manageable … we shall see how it goes. I guess this is one way to measure success.
