Building is the Pits
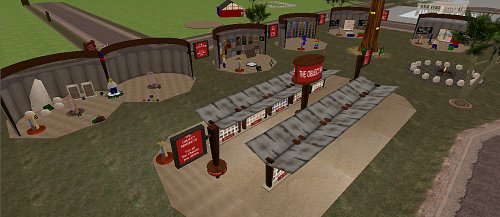
Trying to scoffold an activity so it fits into a short term means that certain details must be surfaced, processes prepared and scaffolds erected. The “builders academy” is a summary of the tutorial zone on planet Obscura and focusses on skills particular to this building task: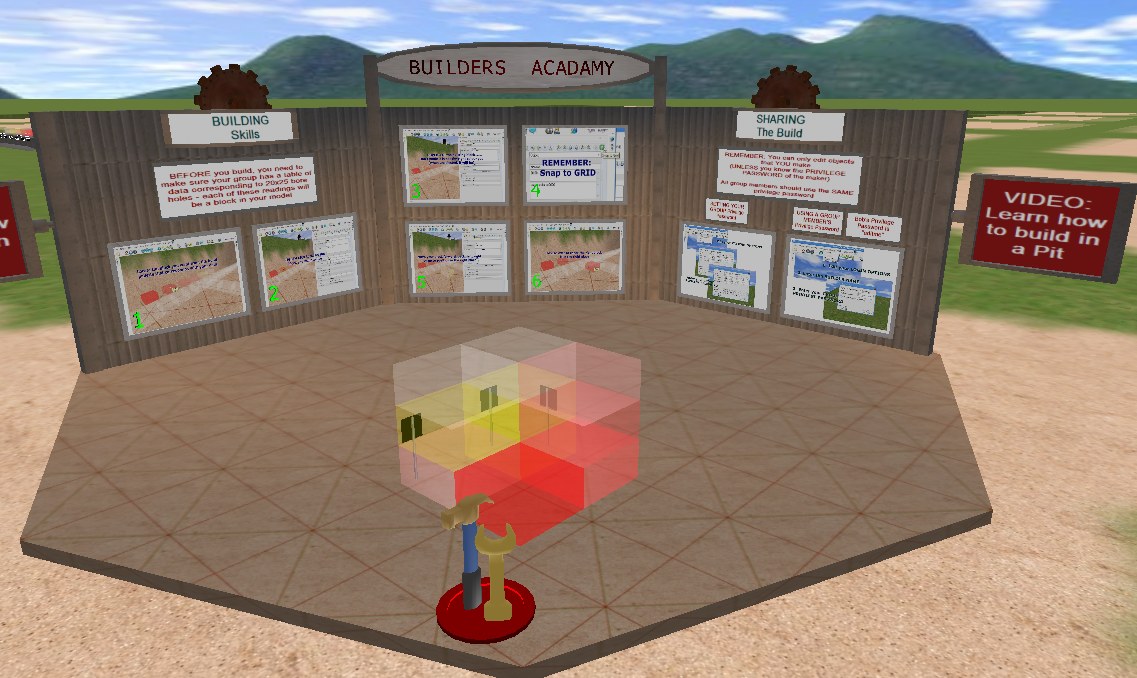
I made a machinema demonstrating techniques, and talking them through more regular tidy building practises, in the hope that if they do not want to read the worded instructions, they might take notice of a human voice modelling what they have to do. I am getting quite good at “multi-modal” explanations, and this is something that Virtual Worlds are particularly good for.
The idea is that cybernauts model, in 3D the readings they have taken in the field. The modelling then creates a 3D representation of the ore body in situ so they can then decide, based on researched costs and benefits, the most appropriate way to extract the ore.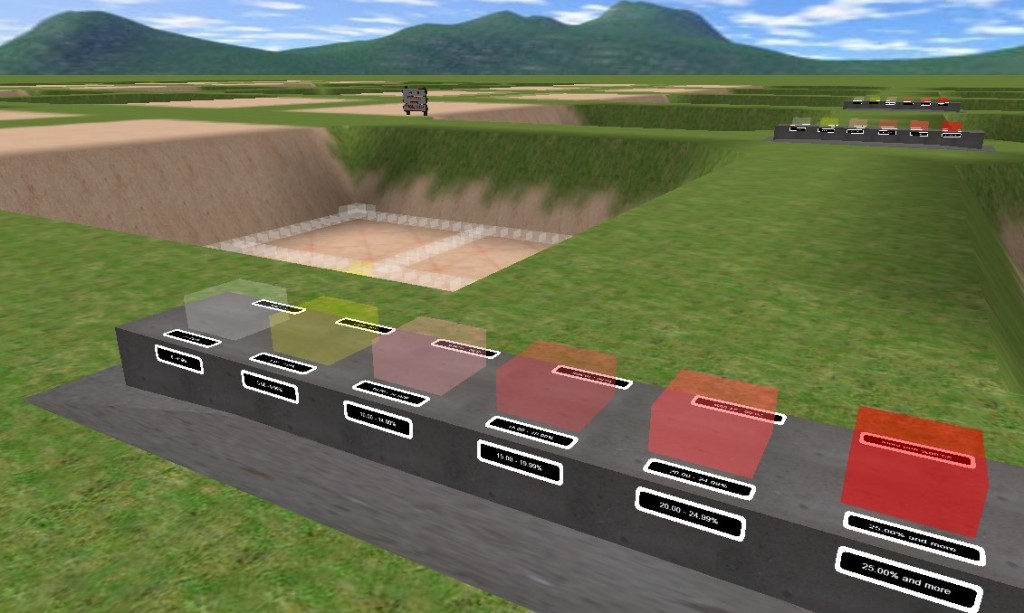 We present them with a “builders pallette” of the objects they need to complete the build – in this instance they are semi-transparent blocks that stack neatly, each representing different mineralisation readings. You can also see in the pit there is a starter grid, centred on the ore body, so they can start building from there without having to worry about aligning, scale and have an idea of extent and scope. Each pit has a “spoils” area to one side, so that later when they are demonstrating the mining technique they have selected, tehr eis somewhere to put their mined waste – again a nice demonstration of the fact that the stuff you dig up and discard has to go somewhere.
Most 3D worlds have limits, Activeworlds more than most in some regards, but I learned some valuable lessons in highly intensive, densely packed object arrays by trying to complete the activity we are asking the cybernauts to do, myself.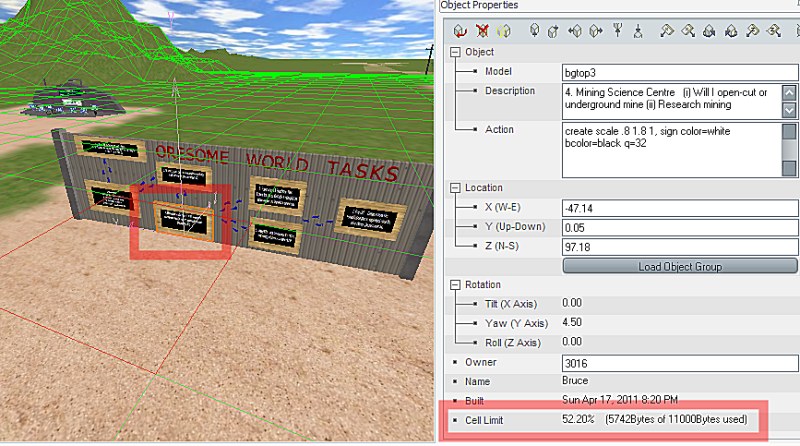
There is this thing called a “cell limit”, it is a PHYSICAL MEMORY limit the world, and I am guessing the rendering engine have whereby the total assets for a grid cell are limited. Each object instance, the NAME of the object, any ACTION scripting applied and any DESCRIPTION add to the storage requirements for that object. In the above screenshot you can see a rather sparse area of the world and a highlighted object alerts us to the fact that we have consumed 52% of the cell limit in that cell (you can see the cell grid in green and the current cell in red). This large cell usage can be explained when you realise there are 135 objects in that cell, most with HUGE names, most with create scripts etc.
This became a critical problem when I was testing the pit construction. Originally I had the blocks with lovely long names, and create scripts and a lovely long description in each – this meant that when I was 2/3 of the way through the building of my model, the WORLD prevented me from building any more in that cell … oops.
The solution was a re-making of ALL blocks (I changed the actual objects to be coloured and transparent in my 3D modelling program rather than do it with scripts in-world), gave them all tiny names (m1 .. m7) and pruned their descriptions down. the upshot of this is that I realise the object catalog that exists currently contains some obscenely wasteful object data – sure the names are descriptive but …
I like it that I am still learning in this project.
Tutorial Zone complete?
…so I got to thinking about the overall “sense” of the tutorial zone – never a good thing when I have lots of other things to do, but the new procrastination plugin kicked in and I ignored my streaming head cold symptoms and began tweaking…
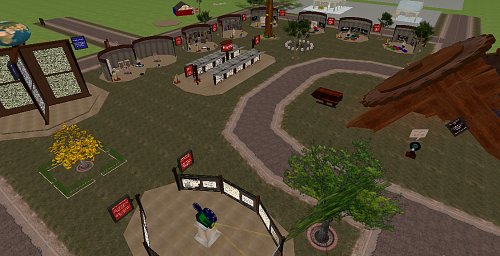
It seemed to me that the tutorial “shells” were facing the wrong way (they faced the road and had their backs on the internal lawn area) – by rotating them 180 (and re-arranging the foliage) it feels a lot more inclusive, like the tutes and the object market relate to each other – they are ALL about the art of building so that was settled (at least in my own fevered brain).
I added a campfire talk circle, with a “cone of silence” around it so private group discussions can go on there, re-jigged the guided tour a little so it made sense and I think I am pretty well done here.
Looking at it from above, it looks like there is very little here, but I know how long it has taken me to make, and feel pretty proud of it.
In the one compact u-shaped area we learn how to make, move, rotate, scale, colour, texture, script and select objects, how to film them afterwards and share our plans for doing so – nice, compact, accessible and … yeah, I know, talking to myself, you get that.
What is missing? Suggestions gratefully received.
Pass the Particle …
…now I have been putting off experimenting with particle systems because … well, no sensioble reasone really, I had just convinced myself they MUST be hard, and love a good self-fulfilling prophesy, dont you?
So, in the script lab, I thought – we need a shower – a cloud of objects that are dynamically spawned (I happen to have already made a drop shape, they will do), they should be effected by gravity, they should “rain” down from a point (I happen to have already made a tap – will modify it so the handle is separate from the tappy bit, that’ll do).
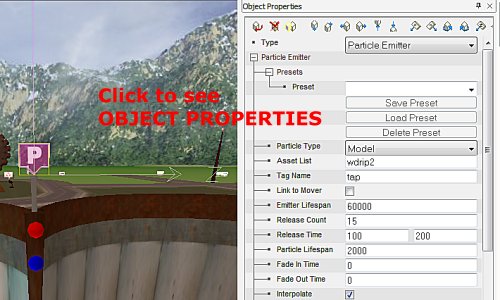
So I spawned an object, changed it into a “particle emitter” which makes it an invisible system object, customizing it was fairly intuitive (thanks activeworld help), I used the “drip” as the actual thing that made up the generated cloud – a MODEL, and got it to scale and twist it as it fell, making the effect a lot like a water-efficient shower head (you know, the ones you have to run around under to even get wet); I positioned it just under the nozzle of the tap, placed a tap handle above, then went to the scripting of the “off” and “on” buttons.
create color blue; activate tag tap on, rotate 0 5 0 name=handle time=6 reset
…for the “on” button, it starts BLUE, when you click on it (activate) it, the TAP particle emitter turns on; and the handle begins rotating at a speed of 5 in the Y axis, for 6 seconds and then resets itself (I got the rotation to go a full 180 degrees, that way the reset does not appear to effect it, and the handle looks like it does a half turn). The Off button is RED and rotates in the opposite direction, turning the TAP particle emitter off as it does this – nice
The emitter also has a “lifespan”, I set this to 60000 milliseconds (or 1 minute to normal people) meaning that once the emitter/shower is turned on, it automatically turns itself off after a minute – cannot have us wasting water (even virtual water) now can we?
A few things can be used as particles, the next experiment used “SPRITE” – a graphic – I used c_sun ) – the nice thing about this is the image self-masks, making the image a fuzzy-edged soft floaty thing, perfect for a firework.
I generated 3 particle emitters – told each to colour the sprites in shades of red, green and blue, made ON switches for each, an OFF switch that did all 3 and *presto*, a fireworks display is born. I gave each particle emitter a lifespan of 1 minute so you could not accidentally leave it on, nice.
The only effect particle emitters have is to slow down the frame rate for the immediate area – it takes processor hits to generate, move and render from various viewpoints I guess. The effect is lovely, fairly easy to control and useful for creating things like flames, smoke plumes, things that move around in semi-organised clumps.
By widening the “create zone” volume, you can have spawned particles coming from all directions, going in all directions, or by tweaking velocities, acceleration and so on, you can direct the stream, turn on and off gravitational effects etc … very useful indeed.
Just follow the script …
A tutorial that seems to be taking time is one involving object scripting … what to showcase?
I thought providing practical applications of scripts were a plan, so set about to put in things that are controlled by scripts that do stuff that might be useful.
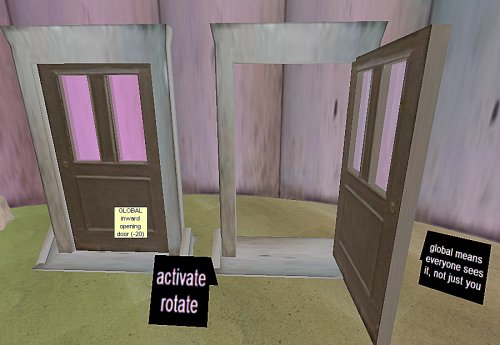
Doors, using a controlled, rotation, triggered by a click (or activate)
activate rotate 0 20 0 nosync time=1 wait=2 global
meaning, when you click on it, rotate about the Y axis at a speed of 20 (-20 to open in the reverse direction) for 1 second, wait open for 2 seconds then close; global means all can see it, not just the clickee.
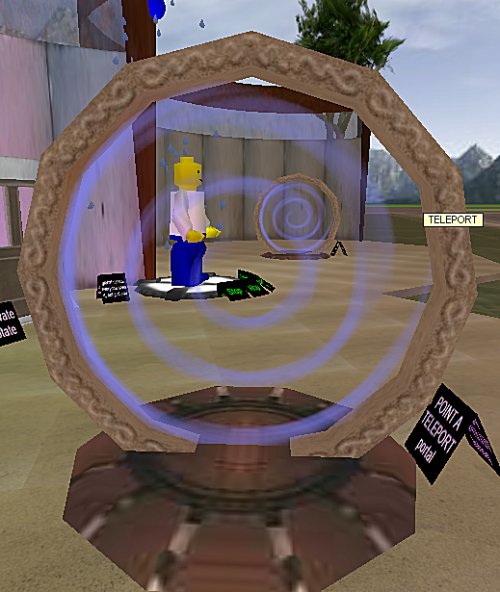
A cute set of “stargates” – one warps to the other, the other teleports – both use the “bump” event (ie. when you run into the non-solid blue twirly thing the action is applied)
create rotate 0 0 -6, solid off; bump warp 3.51N 9.06E 0.03a 14
…meaning when the blue swirly thing first appears, it is rotating around the Z axis, making a nice whirlpool thingy; it can be walked through; when someone bumps into it you warp (walk in fast motion) to the named coordinate – easy. The only real difference between point A and point B is the warp/teleport command word and the coordinates.
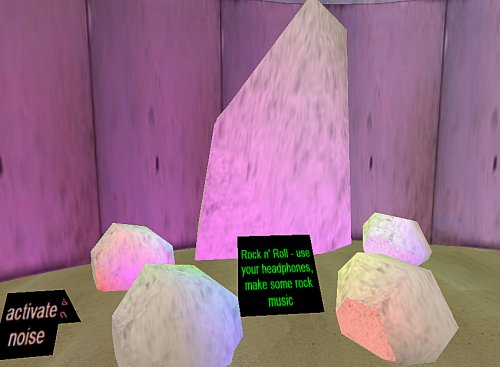
I recycled the rockshop sample lab (from Q2 – made a looooong time ago) into a percussion lab using activated noises
create light color=blue brightness=1 fx=fire; activate noise http://myworld.eq.edu.au/media/biggestbassdrumopen.wav overlap
…meaning, when the rock is first rezzed, it sheds blue firelight; when you click on it it triggers a sample that allows other samples to play over it. nice.
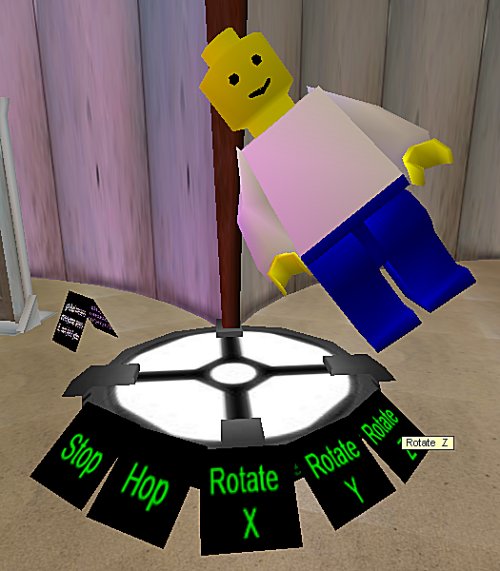
Next a little free-play pitch, roll and yaw, with some uppey-downey motion thrown in – the aim here – I name the lego dude and then the scripts inside each clickable sign reach out and effect that named object:
activate move 0 1 0 name=bob loop wait=0
which means move in the Y axis a thing called bob, do not wait but keep moving it back and forth – bob bobs up and down, the others apply a rotation in the named axes.
next … a particle lab I think.
